Getting Started
You can start scheduling events using the Jiter SDK in just a few steps. We also have a REST API as well. Let's explore how easy this is.
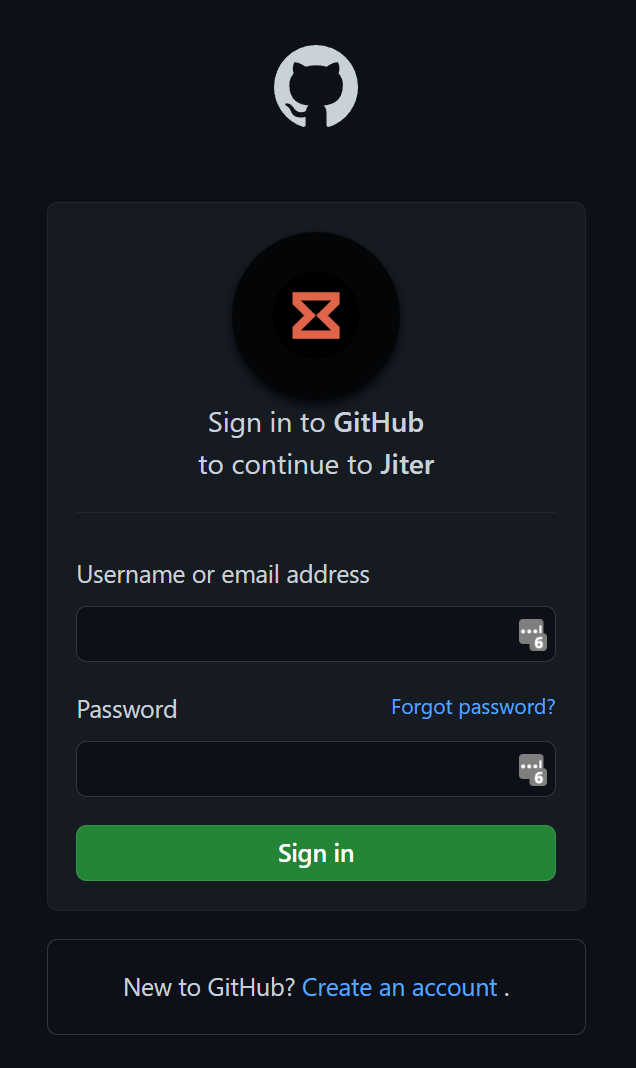
1. Create an account on jiter.dev
You'll need to create an account to generate your API key in the next steps. Login using your GitHub account for simple and secure authentication:
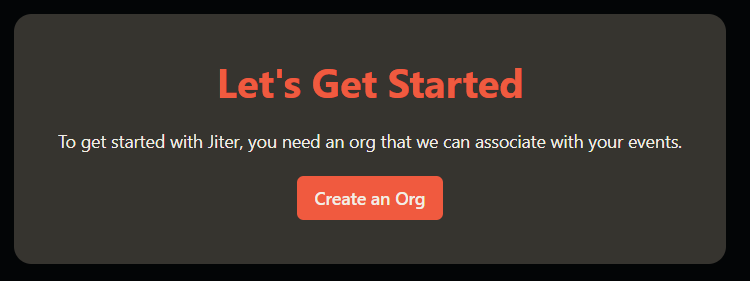
2. Create an organization
Once signed in, you can create an organization which will give you access to your API key. There is currently a soft limit of 5 organizations per account.
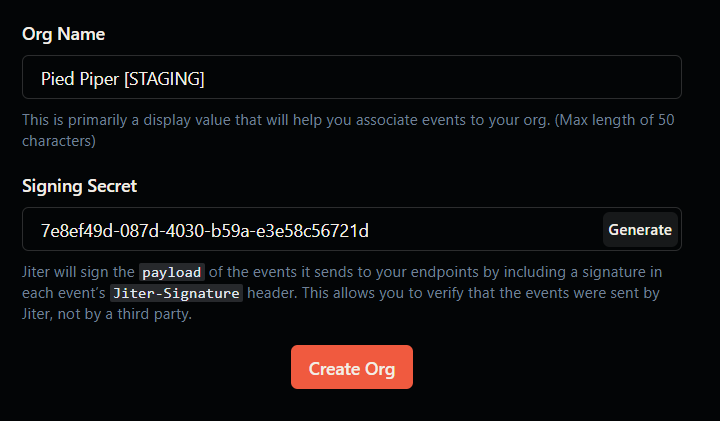
You can optionally create a custom signing secret or generate a random one. As shown above, we will sign the payload of your event with this secret so you can verify that the event came from us when we send it back to you.
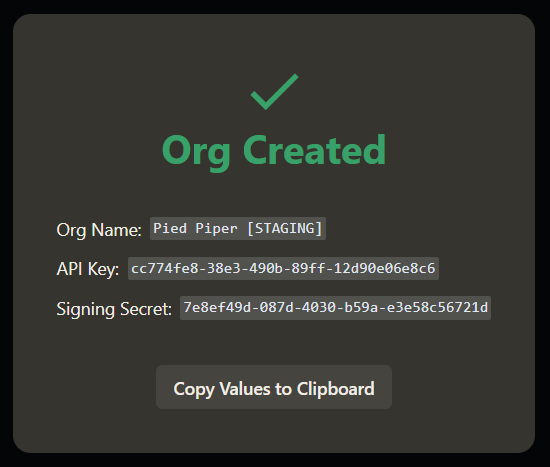
3. Get your API Key
Once your org is created, you can see your API key and signing secret:
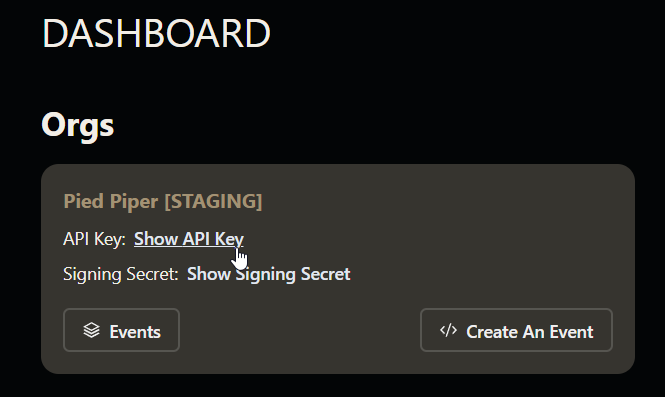
You can also view these values from your dashboard by clicking on each respective button:
4. Install the Jiter SDK and use it in your app
npm i @jiter/node
import Jiter, { BaseEvent, JiterConfig } from "@jiter/node";

const main = async () => {
  const config: JiterConfig = { apiKey: "YOUR_API_KEY" };
  Jiter.init(config);

  const fifteenMinutesFromNow = new Date(Date.now() + 1000 * 60 * 15);

  let createdEvent: BaseEvent;
  try {
    createdEvent = await Jiter.Events.createEvent({
      destination: `https://your-app.com/webhooks/jiter`,
      payload: "Hello there!",
      scheduledTime: fifteenMinutesFromNow.toISOString(),
    });

    console.log(createdEvent);
  } catch (error) {
    console.error(error);
  }
};

void main();
Make sure to replace YOUR_API_KEY with your actual API key and the destination in the createEvent method with your actual endpoint you want to receive events at.